Engine, Electrics & Plumbing
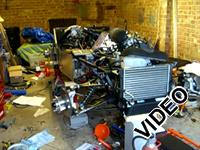
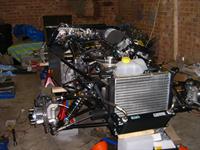
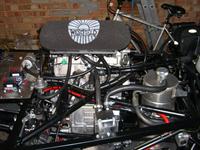
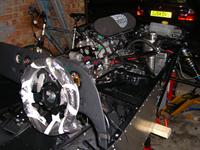
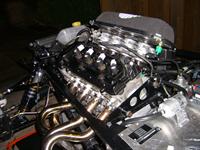
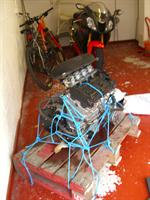
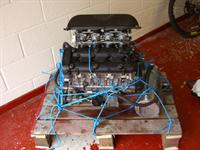
July 12 2007 - The Engine Has Arrived!
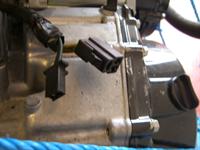
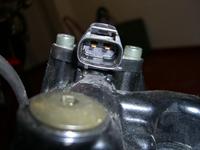
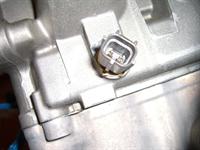
It turned up today. First task now is to try and identify all connectors for all sensors and buy the corresponding plugs. The Emerald ECU comes with a "flying loom" which is basically a loom with no connectors. Most people pinch the connectors off the donor loom, but we don't have one so its a little more complex! I'm now going through the hayabusa Haynes manual trying to work out the difference between an Atmospheric Pressure sensor, an Intake Pressure Sensor and an Intake temperature sensor (amongst others!)
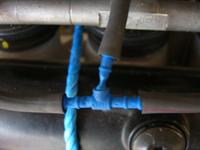
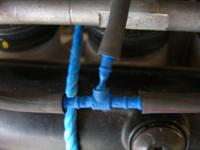
I've fixed the T piece, good old halfords :)
July 14 2007 - Loom & Electrical Connectors
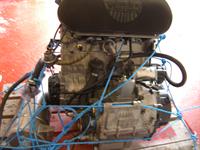
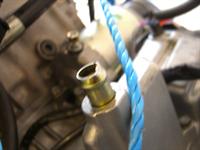
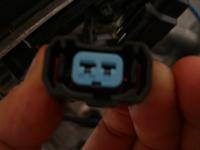
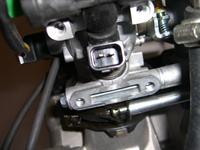
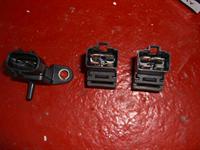
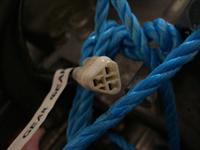
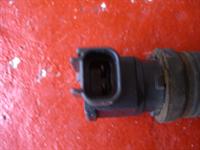
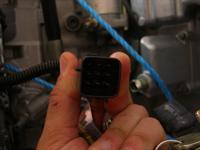
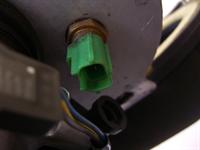
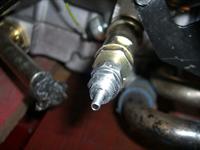
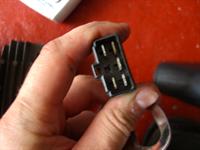
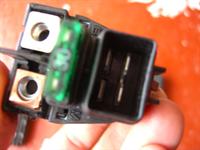
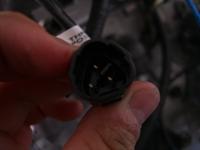
The mission now is to try and acquire all the electrical connectors in order to make a loom. Here are the detailed pictures of all the bits & pieces. Hover the mouse over to see the descriptions of the photos.
August 15 2007 - Engine Problems! Engine Issues!
In order to sort the sump, Westfield are sending me replacement gaskets for the sump and the pipes coming off it. I've also bought some new jubilee clips and silicone hose.
But... more seriously, Emerald say that the ECU will be delayed by *at least* 2 more weeks. Basically they have completely failed to map a hayabusa that they have in the workshop currently. Its all because of the 8 tooth crank pickup sensor. This sensor is responsible for sending the ECU signals to say where the engine is in its cycle, and allow it to choose how to fuel the engine and fire the spark plugs. Newer hayabusa engines usually have 24 tooth wheels fitted, but mine had an 8 tooth put on instead to allow it to work with an older ECU & Loom. Sounds like i need to get hold of a 24 tooth wheel ASAP!
I won't be working on the car until Saturday, but sounds like there's not much rush - with the engine delayed by 2+ weeks, i'm going to fast run out of jobs! |
|
August 16 2007 - New ECU Decision After much discussion today, i decided to cancel the order for the Emerald ECU. Amazingly they actually sounded relieved!
WSCC's forums helped me choose which one to go for instead... steve_m posted this:
Motec is good, nobody would disagree with that but at what cost ? Do you need all those features and options and everything is an extra, it gets very expensive to map it too as they seen you coming.
I have an MBE 992 ECU from SBD, very good, also got the loom with it, excellent quality. It will support flat shift, auto blip on down shift and even auto upshift at set rpm, traction control, launch control, will control fuel and water pumps, wastegate if you have one etc, nothing the Motec can't do but with MBE it's all in the price, all you pay for is the additional hardware you need. The 992 was designed specifically for the busa, ask Steve about it if you're interested.
The 992 still needs the 24 tooth trigger wheel, you can either modify your 8 tooth wheel or get a 24 wheel as suggested. Motec will work worth the 8 tooth wheel but I have read that 8 teeth really is too coarse for a modern ECU to work well with - don't know how true this is but nobody else seems happy with that few teeth.
An hour's chat with Steve at SBD and i placed the order. He's supplying a new 24 tooth sensor on an exchange basis. |
|
August 20 2007 - Major Progress
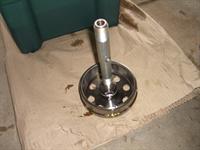
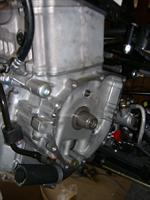
Armed with the correct tool, i extracted the alternator & crankshaft position wheel. It was so tight, i snapped a screwdriver trying to lever it. Eventually it popped off! The new wheel went on with ease and I did the cover back up.
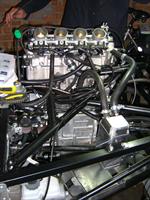
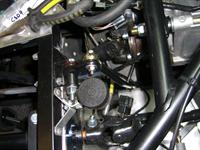
With that done, we lifted the engine back into place and James bolted it in. We re-ran the coolant pipes, fuel pipes, vacuum pipes. One of the coolant pipes snagged so we had to chop a couple of inches off it and re-route it.
We then sorted out the gear linkage, but unfortunately its not working as well as before, i think the quadrant is upside down, we'll sort that tomorrow.
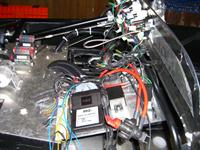
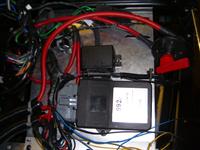
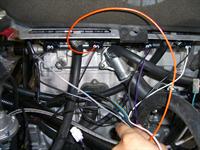
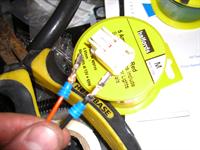
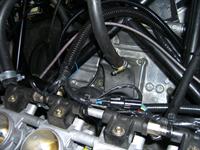
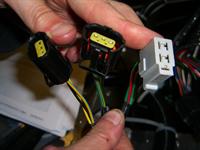
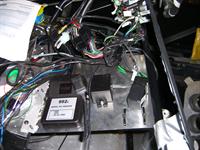
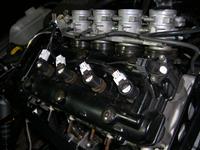
I then fixed the ECU in place on the tray and set about making the wiring loom. I slowly worked from one end - i chose the throttle position & injectors... and slowly bundled more cables together until i had enough to put in some tubing and clip to the mounting.
Ask James why there's a picture of a slug...
On reflection, the wire routing in the engine bay is a mess, i think i'll re-do it tomorrow to make it neater.
Questions for westfield - what do the three spare connectors on the dash loom do? How do I wire in the alternator & tacho?
Todays Build: 2 people, 5 & 4 hours. Total build time so far: 68 hours, 97 man-hours.

August 21 2007 - Wire Hell (or heaven?)
I think I just worked out why nobody in their right mind makes their own wiring loom... if you don't like electrics, look away now!
First we found a home for the regulator and bolted it to the bulkhead.
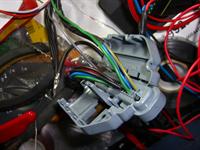
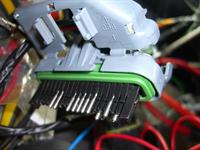
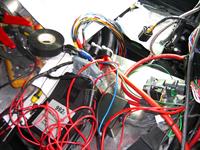
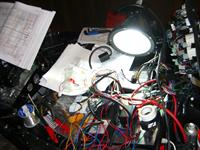
I decided to split the loom into 6 sub-looms to keep things easier to identify. These are the Head (Spark Plugs & Cam Position), the Throttle Bodies (Injectors, Throttle Position, Air Temperature), Various (Gear Position, Oil Pressure, Intake Air Pressure, Water Temperature), Car Loom (Ignition, Switched +ve, Tacho) and finally regulator & cam position. These looms have all been run through to the ECU tray and clearly identified with coloured tape.
I wired in the battery to the MSA cut off switch, then back to the starter relay, then to the starter. The starter relay also serves as a master fuse, so i wired all other feeds from that.
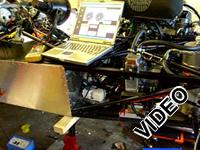
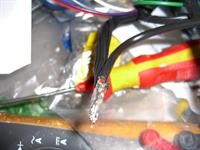
I wired in the USB laptop interface, connected the power, and fired it up. It worked instantly, detecting the ECU and giving me a screen full of dials reading their defaults. I powered it down and wired in the throttle position, air temperature and injectors. Throttle position works beautifully, showing you the position on screen with an amazingly non-existant lag. Air temperature works equally well, and a quick burst with the heat gun proved it!
I spent over an hour messing about with the gear position display, trying to get it to work with the ECU ... can't make it work. Not sure why, i don't really understand what's going on inside it. I'll fire off an email to SBD, see if they can point me in the right direction!
Its amazing how long each connector & crimp takes, and how long it takes just laying out the cables and fixing them down. The engine bay is looking great (forgot to take a photo) and the ECU tray coming together. Another evenings work and i should have almost everything wired in.
While i was doing all that, James finished tightening all the propshaft bolts, probably the worst job thats been lingering around.
Engine is very close to running now: We need the oil tank back from the welder, sump gaskets from westfield, re-fill with oil, test fuel system, finish electrics... and bingo. I really hope the engine works.... fingers crossed.
Todays Build: 2 people, 5 & 2 hours. Total build time so far: 73 hours, 102 man-hours.
August 22 2007 - Final Engine Prep
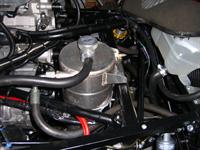
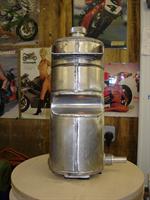
First job is to Fit Dry Sump Oil Tank - just came back from the welder looking gorgeous. Unfortunately we had to disconnect the entire steering rack to get it in.
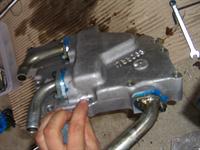
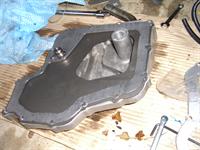
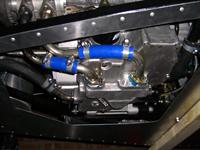
Next I decided to sort out the sump. I removed all three pipes from the cast base and cleaned them up. I then applied plenty of instant gasket and re-tightened everything up. I then put on the gaskets and the plate and bolted it to the bottom of the engine, and torqued the bolts. This took bloody ages!
I connected up all oil hoses ready for filling.
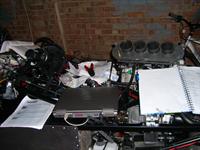
I then set about getting the wiring somewhere nearer to being finished. After an hour or so, i've now got pretty much everything connected into the ECU, but no real idea if it works. I think i'll try to start the engine tomorrow and then investigate the problems if there's no life! Its still a complete spaghetti of a mess, but i don't want to neaten it up until it works.
Its an exciting moment... tomorrow it will be ready to fire. I give it about a 20% probability of working, there are just too many electrical guesses that i've had to make for it to work!
To do tomorrow....
Buy Oil
Install Oil Pressure Sender
Fit new air filter
Fill Oil
Fill Fuel
Test Fuel Lines for Leaks
Test Injectors
Fix Baro Sensor
Fit Exhausts
Put car in neutral
TEST STARTER
If it runs, check oil pressure, kill after 20 seconds
If not... errr....
Todays Build: 2 people, 1 & 4 hours. Total build time so far: 77 hours, 107 man-hours.
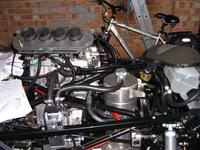
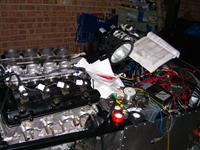
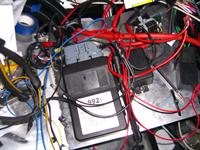
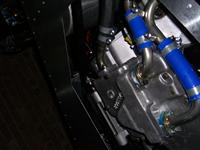
August 23 2007 - The Engine Runs!
On a total mission today - get everything done to start the engine.
First i rewired the ignition coils and injectors and tested - this time they worked.
A quick trip to purchase some oil at lunch meant we had something to fill it with - so around 7 litres went in.
We then turned the engine over to try and get some oil pressure. Obviously the pipe to the gauge is too long, so we got nothing. Slightly riskily we decided to proceed anyway.
We filled the fuel tank, put the fuse back in, and pressurised the system. A careful check for leaks over a few minutes confirmed its fine. We then tested the injectors, and all four produced a nice fine atomised mist of fuel in the throttle bodies.
I replaced the old spark plugs with new ones. Time to run ....
The engine turned for a good 20 seconds before we saw anything. Then a few coughs... and splutters... and it kinda fired. A bit. Then died. I decided to adjust the tickover screw to increase the speed a little. On the next fire it sprang to life, but very lumpily. We let it run for 20 seconds, and the manifolds started to smoke as the oil burned off them.... but only 2 of them! Two were stone cold.
I spent ages thinking this through, retested the injectors, retested the ignition - all fine. Eventually i had a vague memory of seeing that hayabusas firing order is 1-2-4-3, so based on this hunch, i unpicked the loom and swapped the connectors. Bingo - fired into life straight away on all four cylinders.
Video HereThere's still some tuning to do - tickover is still a bit lumpy and the barometric sensor doesn't work - but it runs, and is probably driveable.
Feeling rather happy, we tidied up, fiddled with the gear change a little more, and did a bit more tidying on the loom.
A well deserved night off and a load of beer tomorrow, then to tackle the bodywork! Just 24 days into the build and it looks and feels like a real car.
Todays Build: 2 people, 5 & 4 hours. Total build time so far: 82 hours, 116 man-hours.
